

–Thomas :
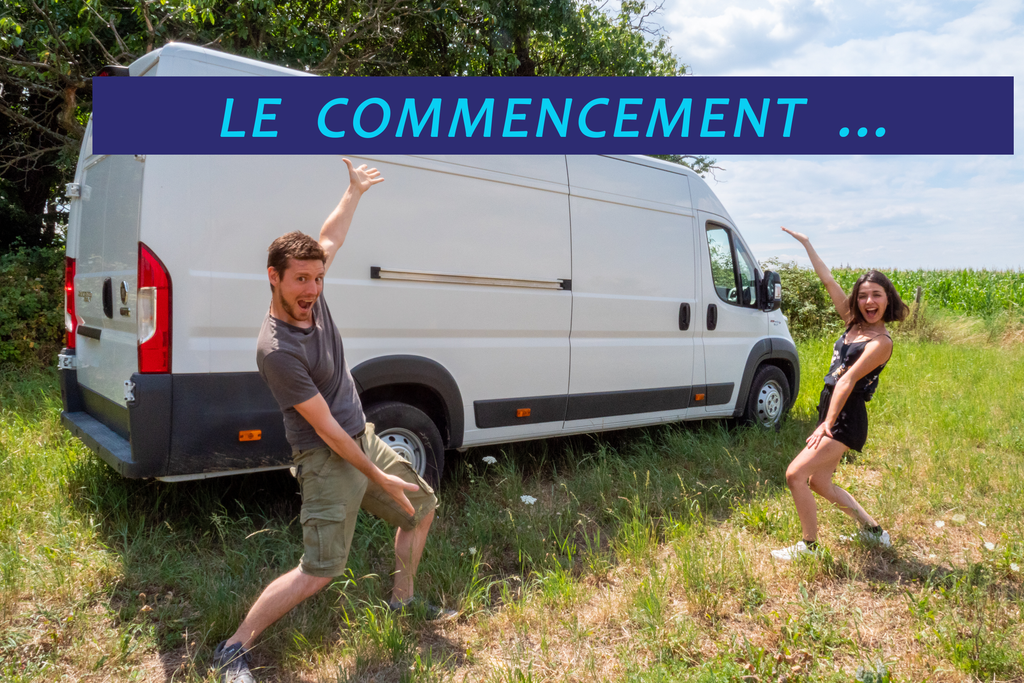
That’s it ! We had just bought our van ! We even gave it a little name : Joy, after a movie by David O. Russell that we both love, and for what that word stands for, quite simply.
It took us exactly three months to fit out our van, from July 2020 to September 2020.
Since we had already thought about the layout beforehand, we arrived at my parents’ place in June, and placed as many orders as possible (wood, solar panels, roof skylight, windows, etc.).
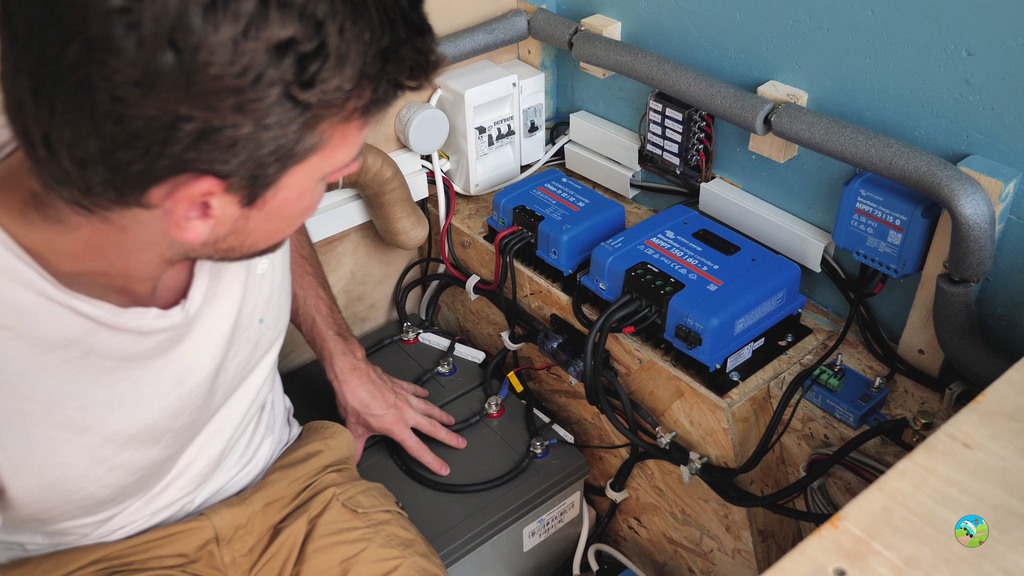
We had quite a few ideas. Since we wanted to live in it year-round, full-time, we absolutely had to be autonomous in electricity, water and heating. So we chose to take 2 water tanks of 70L each, 900W of solar panels split across 3 panels, with 3 lead-carbon batteries of 160A each. At that time, lithium batteries were too expensive for us, given the quantity we needed. For heating, we ran the boiler on LPG with a 26L bottle.
–Sarah :
We really had to look at everything and be super careful about the various standards, because we wanted to register the van in the VASP category (for the simple and good reason that we didn’t want to have to take everything apart when going through the technical inspection). And to be classified VASP, there are 5 points to meet :
- Having a fixed kitchen (no matter how you power it — gas, diesel, etc.)
- Having a table and seats
- Having a bench that converts into a bed, or a large fixed bed
- Having storage
- And finally, that all of it be immovable
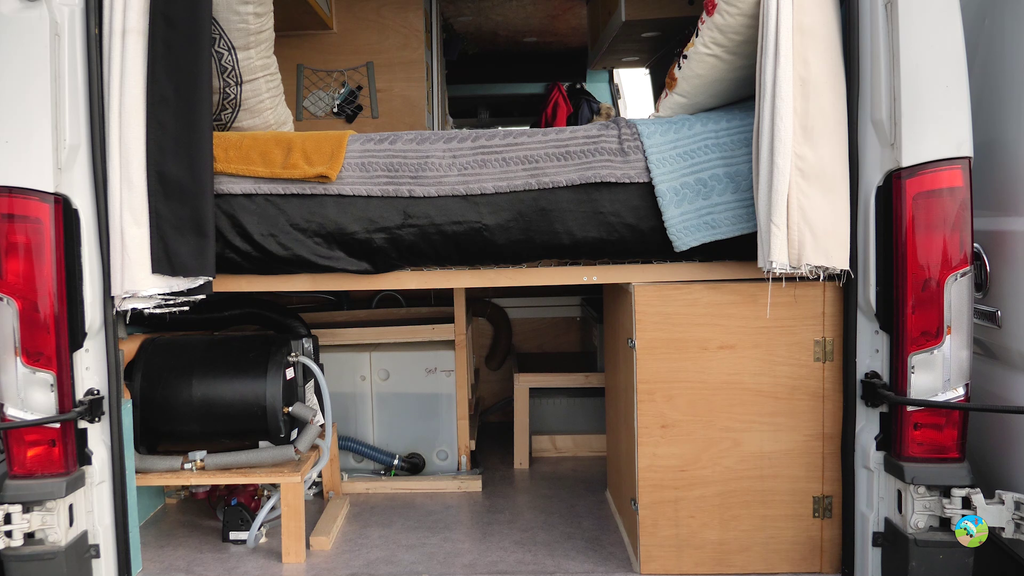
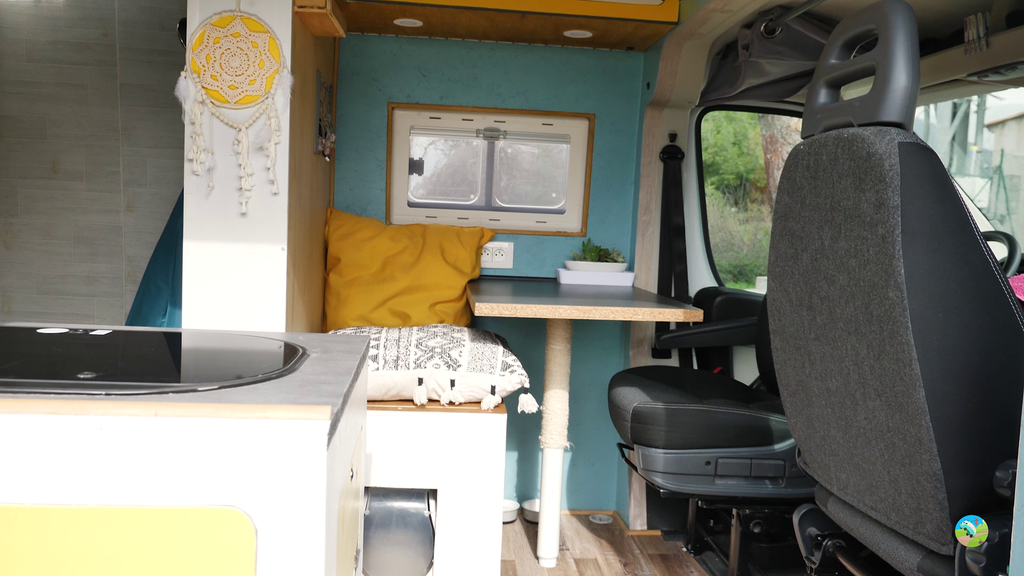
So we did everything ourselves. At the time, going through a professional van converter would have cost around 8,000 euros, with a delivery time of at least 6 to 8 months. Since we were already living at my in-laws’, it bothered me to wait that long (even though the shared living was going great), but above all, we also wanted to learn by ourselves ! Well, you can imagine it wasn’t always simple, we made quite a few mistakes, had little surprises, but it was still one of the best DIY experiences of my life !
We put in cork sheets for sound insulation, a hydro-regulating membrane (vapor retarder) and wood wool for thermal insulation. I really liked this part ; taking measurements, marking the wool sheets, and cutting them with a saw was pretty satisfying. It’s true it was long, boring, and extremely itchy… but I was the only one with hands small enough to get everywhere and put some in all the corners and reinforcement holes of the van. And besides, it was super important to me to insulate our home well ; there was no way we were going to live in a thermal sieve like our old homes !
We also took care to set up a corner for our little cat Max, who was going to be part of the adventure !
–Thomas :
For the electrical, even though it wasn’t necessary, we added conduits in addition to the cables. We ran a 12V line for the devices that didn’t need 220V, and a 220V line for the computers and the more power-hungry devices.
The gas took up quite a lot of room, because we had to build a sealed box with ventilation grilles opening to the outside (one low and one high). With my dad, we struggled a lot when it came to properly securing the bottle with its brackets. It was really tense, but at least nothing moved anymore ! 💪
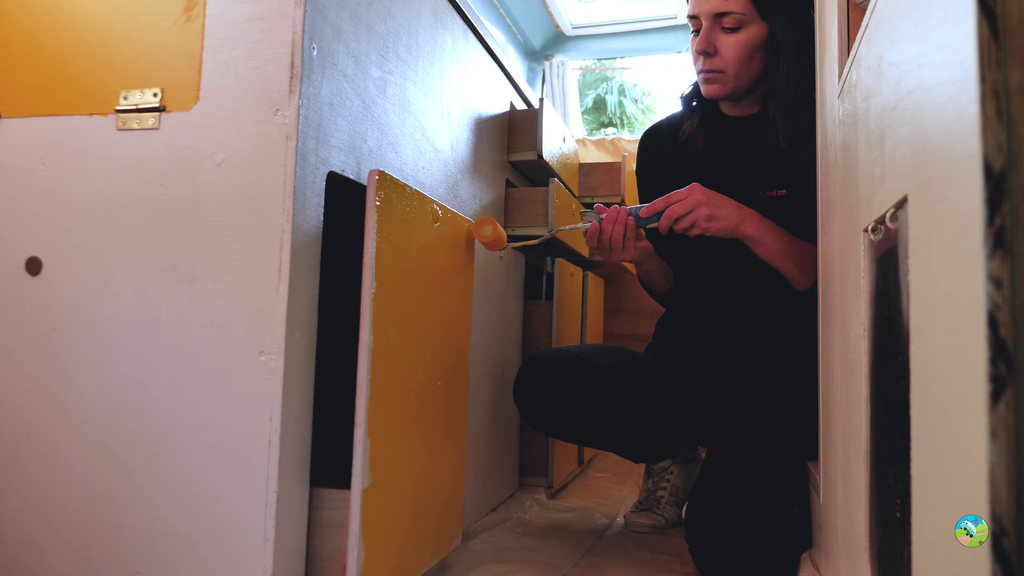
For the walls, we chose OSB : we liked the texture it gave with the paint. For the furniture, it was 9mm plywood. The hardest part of building the furniture is mostly the shape of the walls, which aren’t straight but curved as they go up toward the roof. So we had to make cardboard templates to draw them, and sometimes start over and refine several times to get the right result.
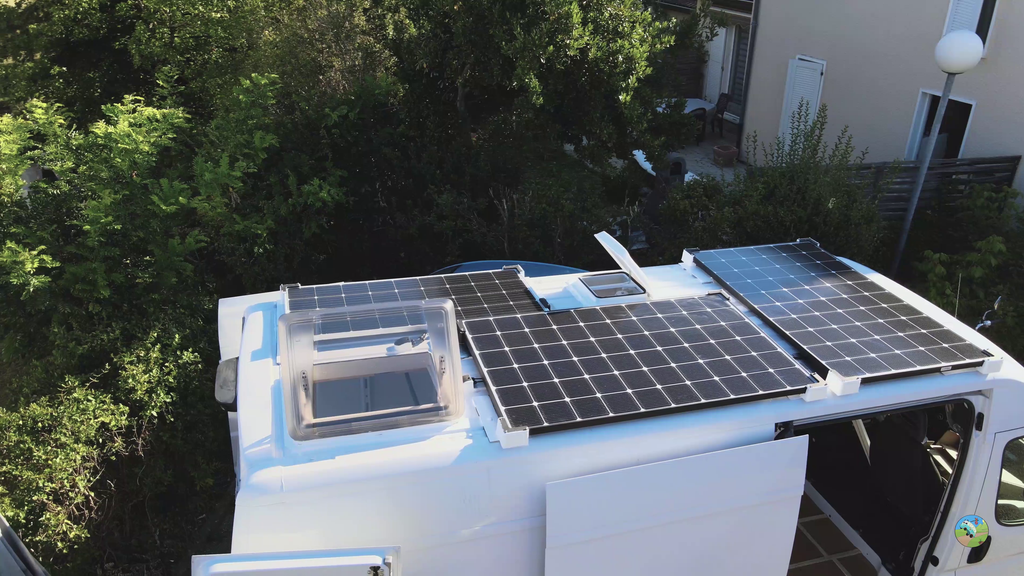
The electrical was also a big chunk : we had to make mounts to attach the solar panel supports to the roof. We bought stainless steel plates, glued and fixed with self-drilling screws. Then we glued the supports with caravan Sikaflex, to finally place the solar panels on them. We had to calculate the size of the panels carefully to fit as many as possible on the roof, while respecting the two spots reserved for the skylights. So we placed one panel across the width, one along the length, and the small one at the end. All of it with 3 lead-carbon batteries, for a total of 480A. Some will tell me that was overkill, and I’ll answer that for a setup meant for summer vacations, it is indeed the case — but you have to understand that the goal was above all to travel all year round, so also in winter, when there’s very little sun.
Because a photovoltaic panel works with light, but it still needs a certain amount of sunshine to run at full capacity. Needless to say, with a gaming tower and two 27-inch screens in the van, when I played or worked in the evening, the battery percentage melted like snow in the sun. After 5-6 hours, I absolutely had to stop using the PC : I was almost down below 50% battery. And with lead-carbon batteries, you must not go below that, at the risk of drastically reducing their lifespan in the long run.
I’m really happy and grateful to have been able to share this experience with my dad. This fitting-out period allowed us to spend quality time with him and my mom. And even though she couldn’t tinker with us, she was happy to come see the work progressing, and the van transforming.
At the end of September, we were just in time to leave and play a few concert dates in Paris (yes indeed, there were still a few performance venues open at that time). We had done the biggest part, and all that was left was the paint and a few finishing touches. But we were ready to hit the road.🚌